The Ultimate Meeting Supply List
/I rarely talk about tools and supplies when I’m teaching visual thinking skills. The main reasons are that this conversation can veer into a bad carpenter blaming their tools situation, and it it presents an artificial barrier to entry (e.g. “ I don’t have the right technology/app/markers/paper, so I can’t sketchnote/draw/think/do”).
But in reality, the right supplies— especially for an in-person group gathering— can really make or break the experience. That doesn’t mean everything needs to be top-of-the line and shiny new, but it does mean I pay very careful attention to the meeting design and make sure that I have any supplies needed to enable the types of interactions I seek. The necessities will vary slightly across every project, but over the past 10 years I have accumulated a “Facilitation Supply Kit” that meets 90% of my needs and requires minimal additions at this point. If you are doing in-person group meetings on a regular basis, I highly recommend investing in a basic supply kit. Here’s mine:

I have Accumulated these supplies over the span of 8 years. Start with what you have and build your own kit out from there.
In the spirit of acknowledging my sources of learning and inspiration, I have had the pleasure of designing gatherings with brilliant practitioners like Dan Roam, Deirdre Crowley, Nevada Lane, and Eugene Kim. I have also learned a ton from successes and failures on the job, and picked up invaluable pointers through communities like the International Forum of Visual Practitioners. Lots of what I’m sharing here are things they have recommended over the years.
Below I have broken down the supplies by vendor. I’ve also made a handy google doc checklist that is grouped by meeting type so that you can download your own and use it to keep track of inventory. In case you were wondering, if you bought everything I suggest and link to in one day, it will put you out $500 (excluding tax and shipping costs).
Neuland


Neuland is a German company that sells the. Best. Markers. Hands down. They are expensive to buy upfront, but once you have the markers and refills, you won’t need to buy new ones! The website is somewhat painful to use, so I tried to make it easy by sharing my favorite purchases below. I recommend buying in two purchases— start with the basics and then do one or two meetings. See which colors you use the most, and then pick up the refill inks as needed.
First purchase
BIG ONE Wedge Nib Markers— good for floods of color, highlighting areas. I’ve found I only use the lighter colors and pastels in this model marker. My go-to colors are: 101, 102, 203, 302, 303, 401, 500, 502, 503, 600, 701, and 702
No. 1 Markers — good for more detailed drawings and colored text. I don’t use as many of these, but it’s nice to have some bright pops in a thinner line for colored text and illustrations. My go-to colors are: 101, 302, 401, 500, 600, and 700
Outliner Markers (large and small) — good for all text and titles. I’d get at least 3 in the Big One, two No. 1 Wedge Nib and two No. 1 round nib.
Refill Items: You’ll definitely want to stock up on some refill ink for your outliners, but I would suggest waiting to order your refill colors until you know which colors you find yourself using the most and then stocking up on a refill for those (otherwise the first purchase gets out of control). You’ll find yourself wanting sharper tips for your outliners as they wear down, so grab some replacement nibs in your first purchase as well.
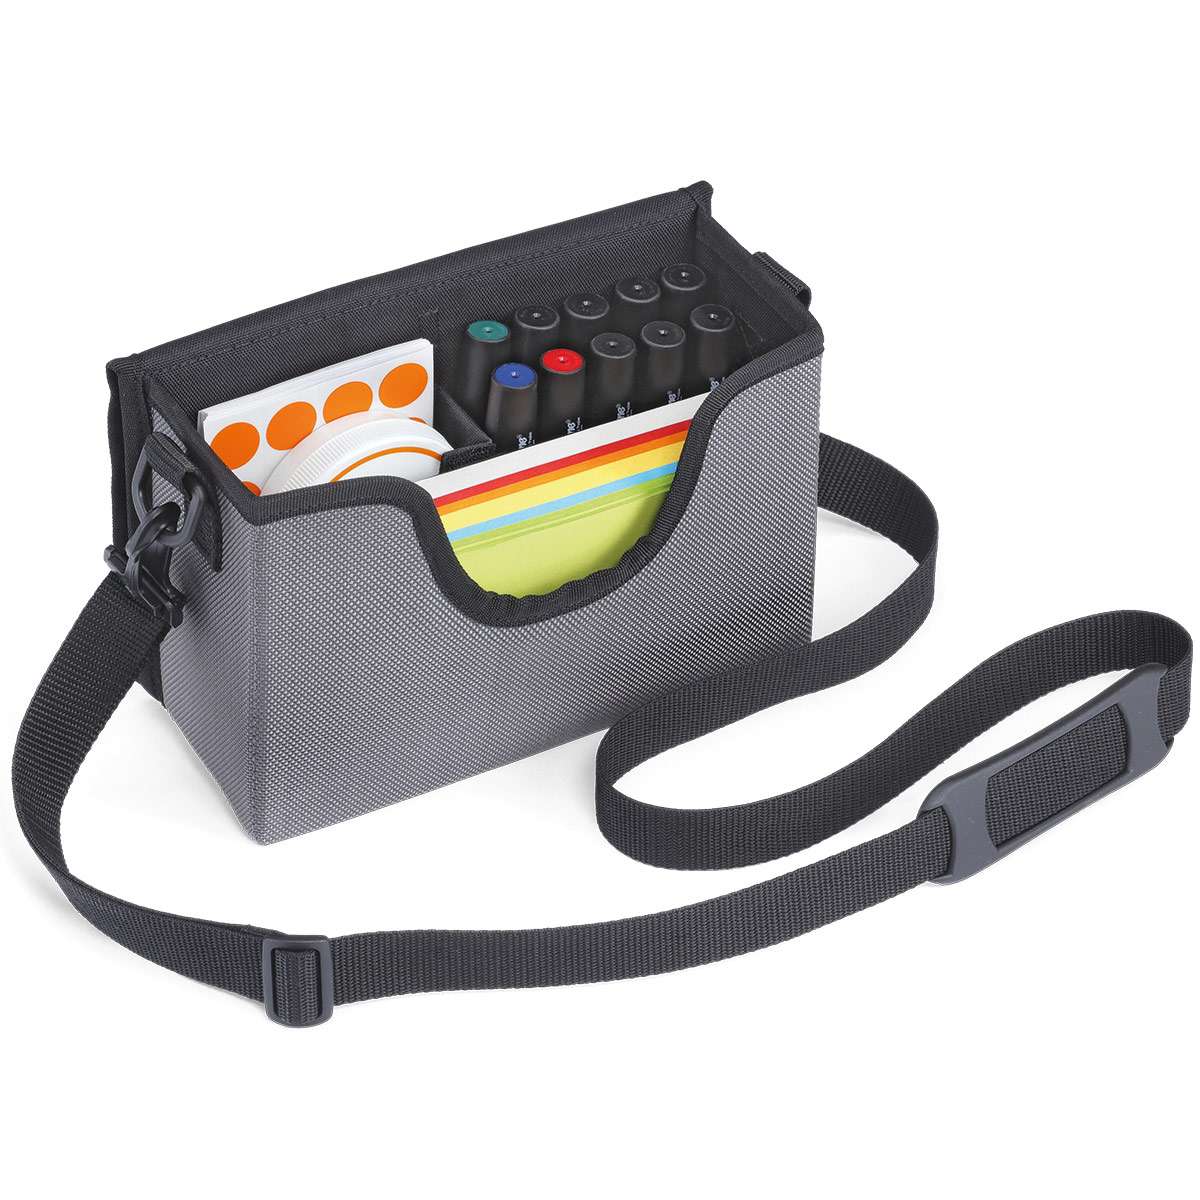
Some kind of case. I’ll leave this up to you because the one I bought years ago is no longer for sale. I like this little bag for a small, affordable option just for markers and other supplies (you’ll see my larger workshop kit via the next vendor).
Large roll of paper. I have found ordering paper via Amazon can be hit or miss. Sometimes the paper isn’t quite the quality I expected, and other times it has arrived damaged. So I stick to Neuland if I have enough time to wait for that shipment.
Follow up purchases
Refill inks. Learn more about how to bring your markers back to life through their handy guide, or this youtube video
As needed: I also like the whiteboard markers and I haven’t tried the chalk ink but I’m sure it’s good!
If I found myself doing a lot of air travel with my supplies, I might look into a fancy (pricey!) marker/supply suitcase that can safely transport via carry on or checked luggage.
Amazon


I’ve listed and linked everything individually below, but you can also find my favorites in one place by heading over to my Visual Meeting Supplies list.
Basics
Artist Tape for hanging up the paper. Won’t peel tape off of walls.
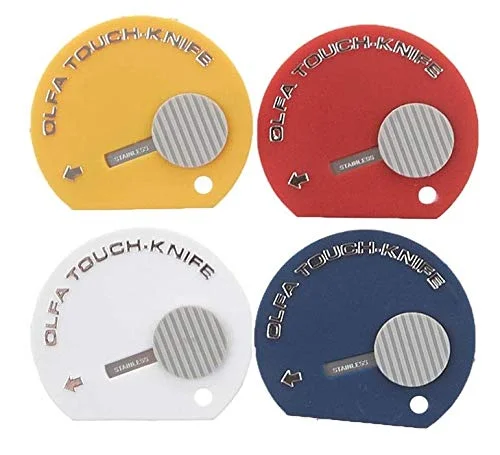
Olfa Touch Knife for cutting paper— safe for air travel (will pass through TSA no problem)
Dot Stickers for voting activities
Sturdy Pencil for sketching out templates
Pink Pearl Eraser for erasing templates and early sketches
Avery Mailing labels to cover up mistakes (DO NOT FORGET THESE!)
Large (6” x 8”) Sticky Notes (the extra sticky kind is nice to have, but if you already have some, don’t buy new ones)
Permanent Markers for writing on stickies (this pack of 60 should last you forever!)
Cheap ballpoint pens for participants to take notes (NOT for writing on stickies, too hard to read in photos)
5x7 cards for various uses (computer paper will do fine if you have that!)
2 Easels to hold up your graphic panel (the ones I linked are not great…but I haven’t found any i like better)
Organization
ArtBin Super Satchel The flexible compartments, recommend for use if you are shipping to your meeting site or working local meetings (this would be really hard to carry with you on a flight, and it’s not sturdy enough to check with the airline.
Some kind of marker case (I don’t have a specific one, but something like this might work for the thicker markers)
Extras
I’ve found it’s nice to have sticky flipchart paper for smaller graphics like the agenda, and for group breakouts. Normally I ask my clients to supply these for each meeting, rather than spend my own money.
Paper Roll (I mentioned I prefer Neuland, but maybe this will work in a pinch)
BLICK (or YOUR LOCAL ART SUPPLY STORE)
4’ x 8’ foam board (or what I call the graphic wall). When I picked these up, I followed this tutorial (thanks Eugene Kim and Julia PInces!) in the store so that it would fit in my car on the way home
Phew! That’s it. Hope you find this post helpful!